NodeMCU 是什么
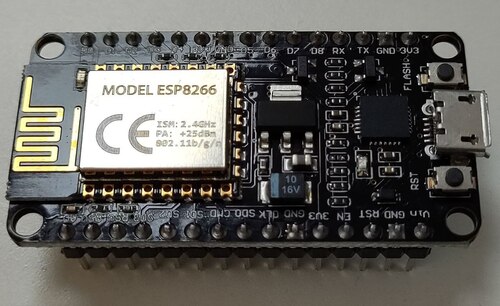
NodeMCU 是一个开源的物联网平台,基于 ESP8266 芯片,支持 Lua 编程。我使用的是 NodeMCU v2 ,芯片是 ESP8266-12E。
官网地址: https://www.nodemcu.com
GitHub 地址: https://github.com/nodemcu/nodemcu-firmware
硬件和软件准备
| 硬件 | OS | CP2102 驱动 | IDE |
|---|---|---|---|
| NodeMCU v2 | Ubuntu 22.04 | 系统自带 | Arduino IDE |
我用的是 Ubuntu 系统,Windows 和 MacOS 系统也支持。
Ubuntu 系统自带 CP2102 驱动,不需要额外安装。
开发流程
- 使用你需要的模块构建固件
- 烧录固件
- 上传代码
一般步骤1和2只需要执行一次,步骤3在开发过程中会重复执行。
构建固件
NodeMCU 支持云构建和 Docker 构建,这里介绍云构建。
云构建地址:https://nodemcu-build.com/
页面上广告比较多,小心别点错了。
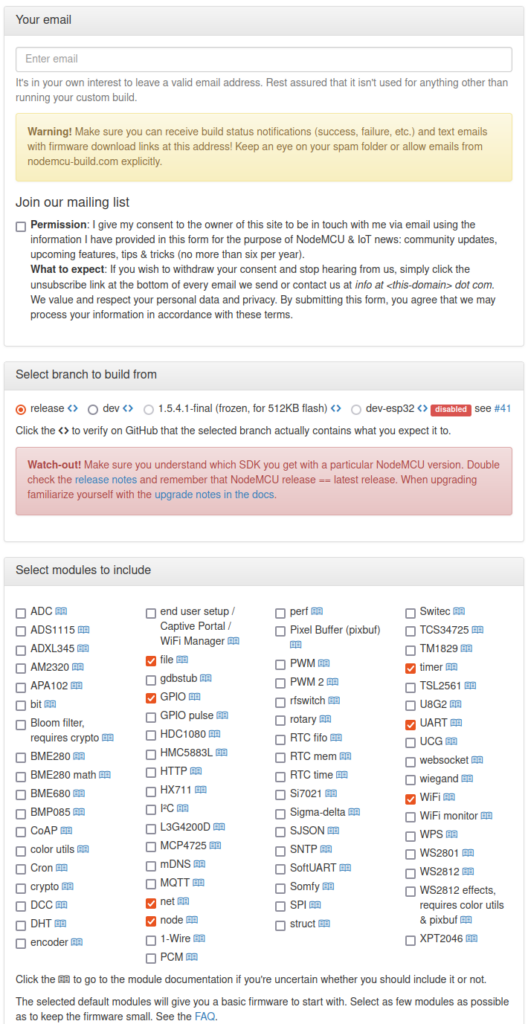
填写邮箱地址,选择模块,点击构建。
构建提交之后提示这个
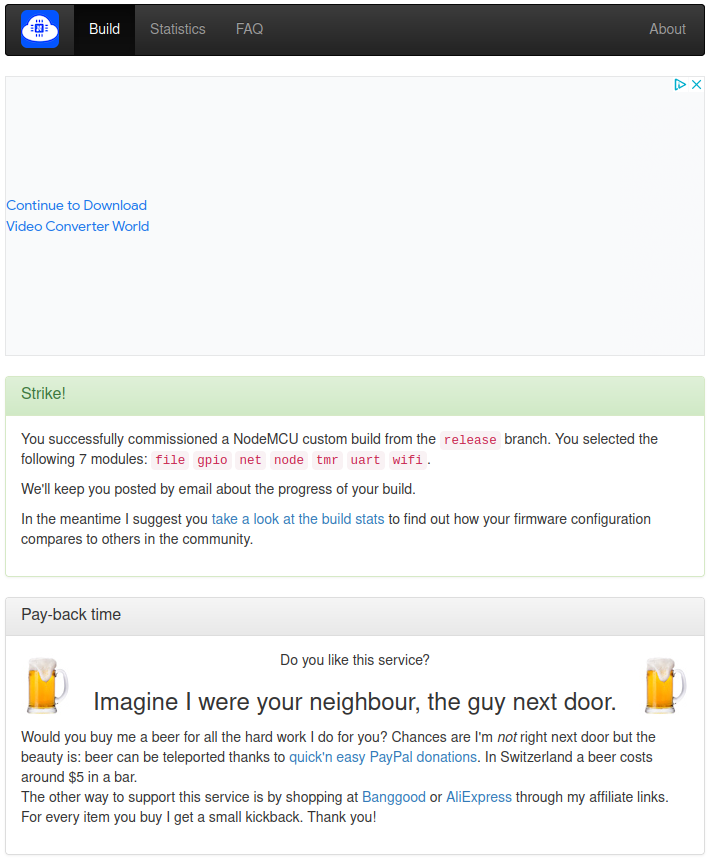
过一会儿会收到邮件,邮件里有固件下载地址。
烧录固件
烧录固件使用的是 esptool.py,安装方法:
mkdir -p ~/code/esp8266/trynodemcu # 创建调试目录
cd ~/code/esp8266/trynodemcu # 进入调试目录
python -m venv venv # 创建虚拟环境
. venv/bin/activate # 激活虚拟环境
pip install esptool # 安装 esptool
使用方法可以参考 esptool.py 文档 或者 esptool.py -h
查看串口设备:
ls /dev/ttyUSB*
使用设备如果遇到权限问题,可以把用户加入 dialout 组:
sudo usermod -a -G dialout $USER
烧录固件:
$ esptool.py --port /dev/ttyUSB0 --baud 921600 write_flash -fm=dio 0x00000 ~/下载/nodemcu-release-7-modules-2024-05-09-03-10-36-float.bin
esptool.py v4.7.0
Serial port /dev/ttyUSB0
Connecting....
Detecting chip type... Unsupported detection protocol, switching and trying again...
Connecting....
Detecting chip type... ESP8266
Chip is ESP8266EX
Features: WiFi
Crystal is 26MHz
MAC: c8:c9:a3:66:8f:c3
Uploading stub...
Running stub...
Stub running...
Changing baud rate to 921600
Changed.
Configuring flash size...
Flash will be erased from 0x00000000 to 0x0006efff...
Flash params set to 0x0020
Compressed 454656 bytes to 295011...
Wrote 454656 bytes (295011 compressed) at 0x00000000 in 5.0 seconds (effective 729.2 kbit/s)...
Hash of data verified.

Leaving...
Hard resetting via RTS pin...
上传代码
ESPlorer
上传代码使用 ESPlorer,下载地址:https://esp8266.ru/esplorer/
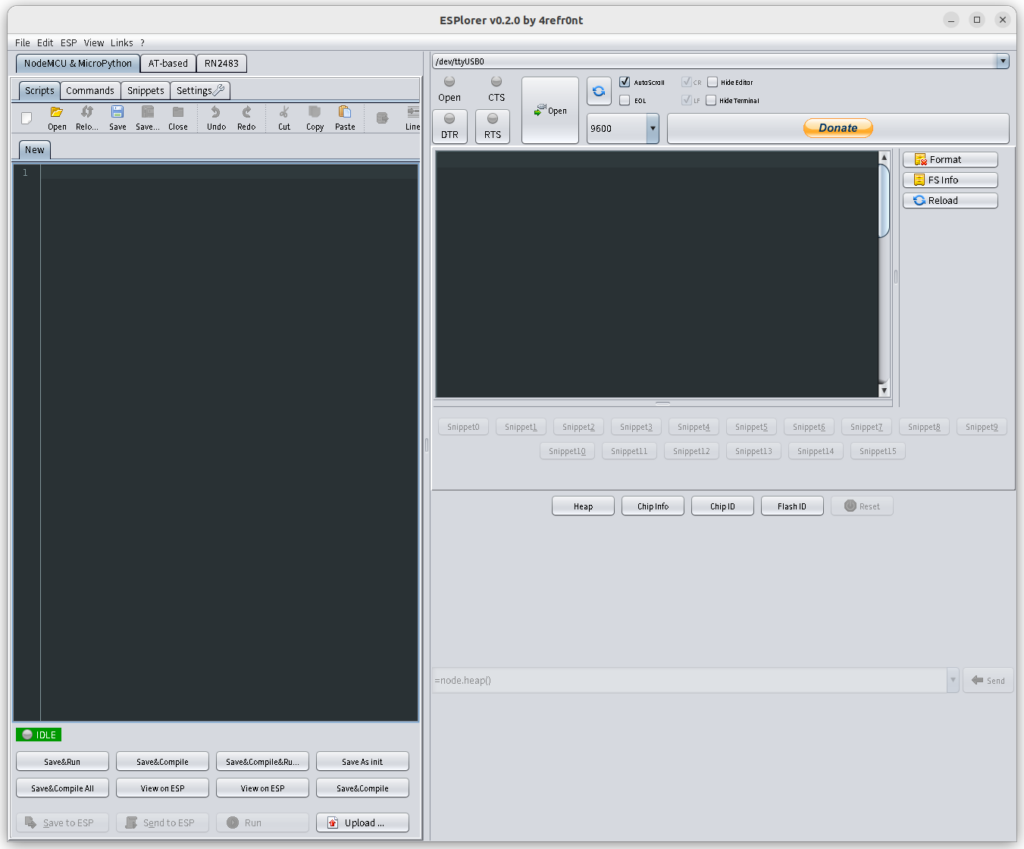
坑

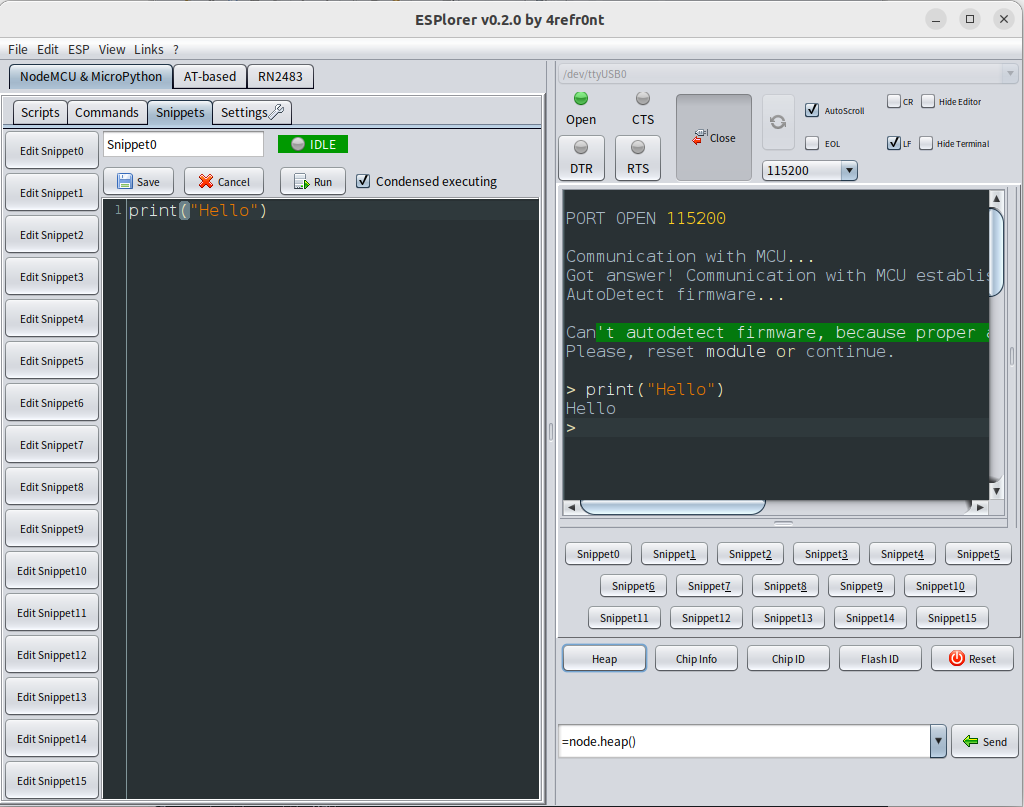
按照开发板上的提示,使用 9600 波特率连接,始终返回乱码,改用 115200 以上的波特率连接正常。
Arduino IDE
Arduino IDE 也可以用来上传代码,需要安装 ESP8266 支持。
下载安装 Arduino IDE
https://www.arduino.cc/en/software
选择 AppImage 64 bits (X86-64)
下载后添加执行权限
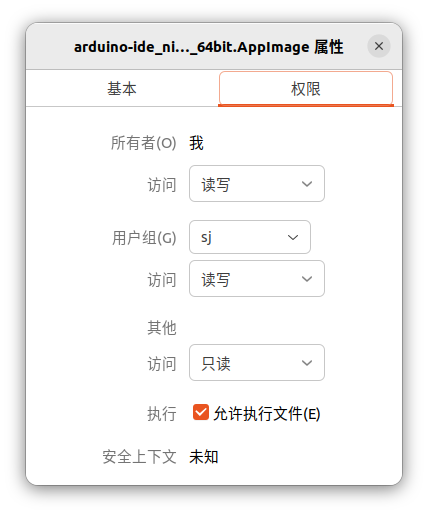
双击启动。
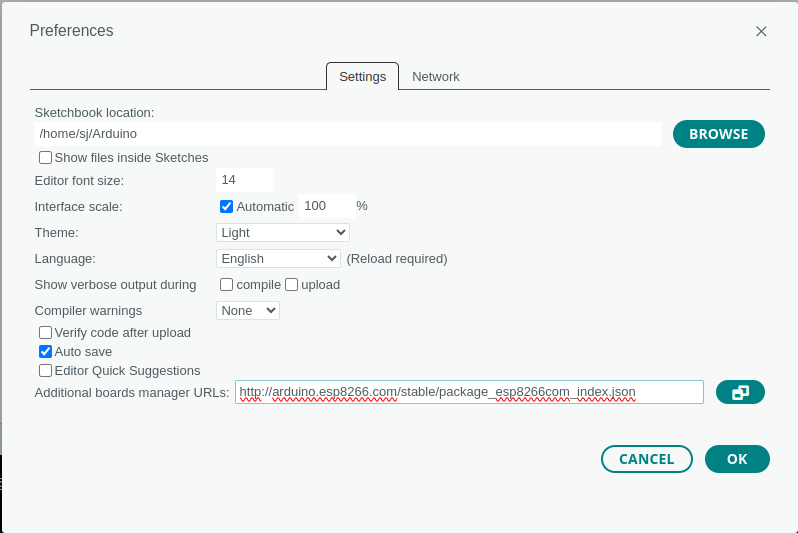
安装 ESP8266 支持
File -> Preferences -> Additional Boards Manager URLs: http://arduino.esp8266.com/stable/package_esp8266com_index.json
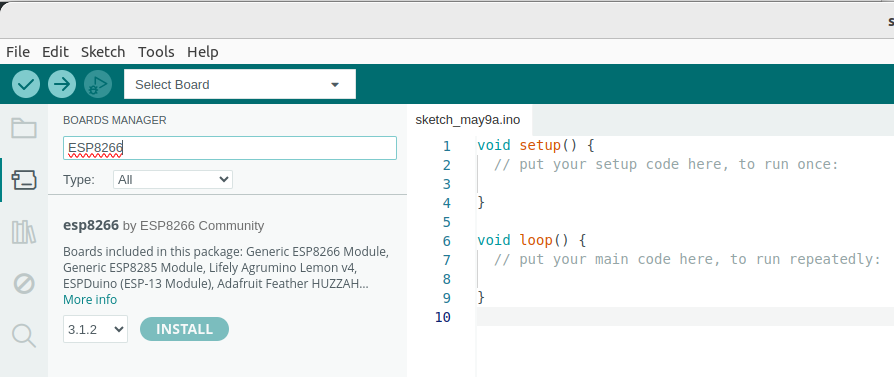
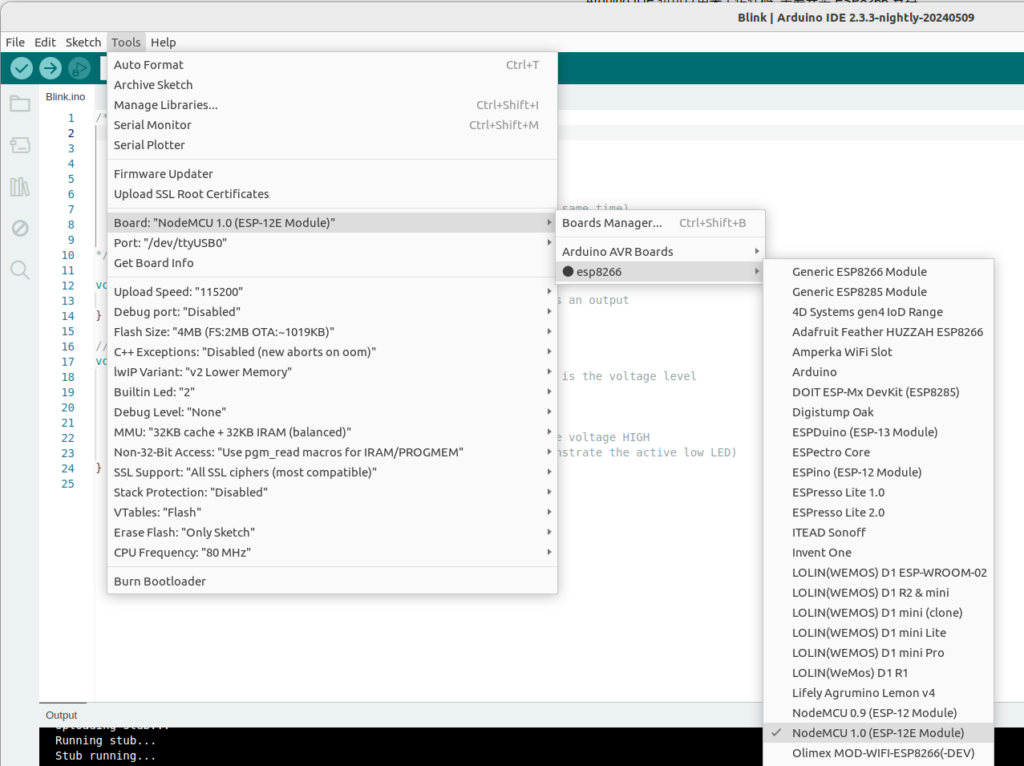
Tools -> Board -> Boards Manager… -> 搜索 ESP8266 -> 安装
选择 NodeMCU 开发板
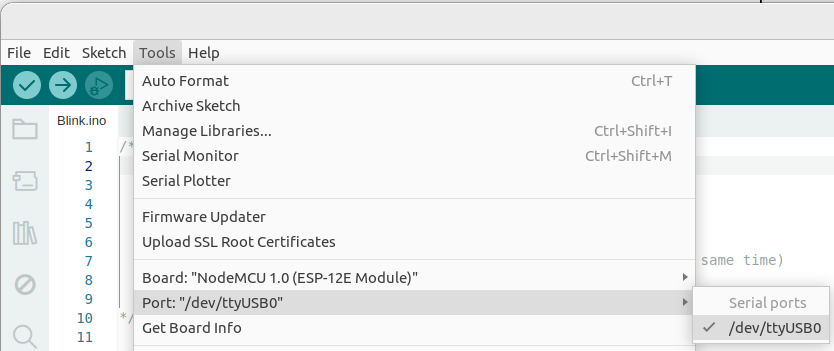
选择端口
编译上传代码
void setup() {
  pinMode(LED_BUILTIN, OUTPUT);  // Initialize the LED_BUILTIN pin as an output
}

// the loop function runs over and over again forever
void loop() {
  digitalWrite(LED_BUILTIN, LOW);  // Turn the LED on (Note that LOW is the voltage level
  // but actually the LED is on; this is because
  // it is active low on the ESP-01)
  delay(1000);                      // Wait for a second
  digitalWrite(LED_BUILTIN, HIGH);  // Turn the LED off by making the voltage HIGH
  delay(2000);                      // Wait for two seconds (to demonstrate the active low LED)
}
上面是一段 ESP8266 的 Blink 代码,把代码粘贴到 Arduino IDE,选择开发板和端口,点击上传按钮。